Package contents
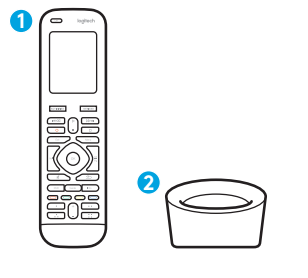
1 Remote
2 Charging cradle
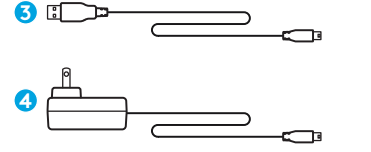
3 USB cable
4 AC Adapter
Lets get started
STEP 1
Set up the Harmony remote
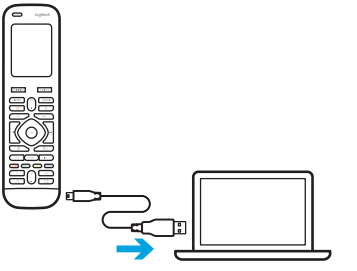
- Connect remote to a PC/Mac
- Download desktop software from setup.myharmony.com
- Follow instructions to complete setup
STEP 2
Charge the Harmony remote
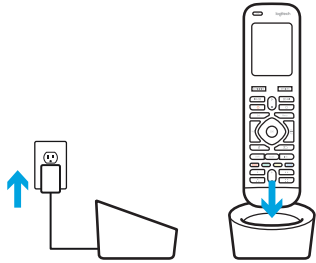
Plug in the charging station and place the remote in it.
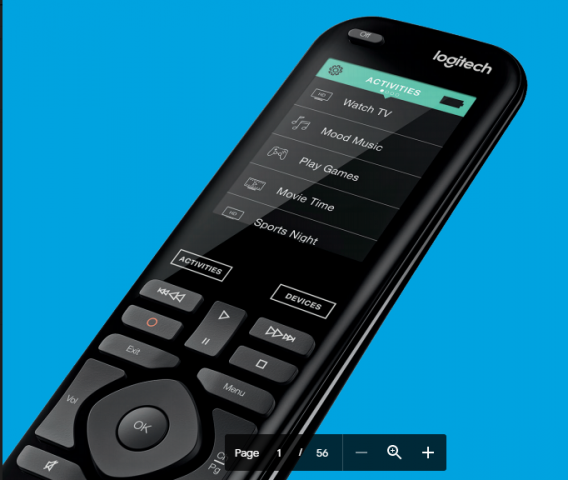
How to use your remote
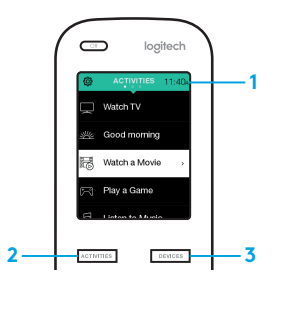
1.Clock/Battery
Tap to toggle between clock and battery meter. By default,the clock will be displayed.If battery drops below 20%,the battery meter will automatically be displayed.
2.Activities
Tap the Activities ”soft button” to access Activities Home Screen.You will see a list of all your Activities.
3.Devices
Tap the Devices ”soft button”to access Devices Home Screen.You will see a list of all your Home Entertainment and Home Control devices.
Gestures & Gesture Hints
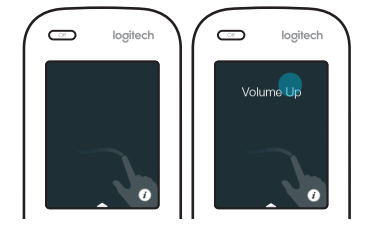
When an Activity is running,swiping down from the top of any screen will display the gesture screen.
Here, simple taps and swipes will perform functions related to the current Activity such as changing the volume, skipping forward or backward, pausing and playing, etc. Tap the button at the top to see what gestures are available for each Activity.
Troubleshooting
Basic troubleshooting tips
Use Help on the touch screen to resolve issues.
The Harmony remote does not communicate with My Harmony
• Check the USB cable and its connection.
• Check the USB cable and its connection.
• Try another USB port.
• Restart the remote: Press and hold the Off button for 15 seconds or until the Logitech logo appears on the display.
Device not listed in My Harmony app or the Harmony remote does not have a command
• Check the manufacturer name and model number entries.
• Use the Harmony remote IR learning feature.
• For more help go to support.mcharmony.com/950
You can download the PDF version of the HARMONY® 950 Setup Guide here.